Last updated on 2019-09-12, by
Add Flash Videos to WordPress Blog
Whatever your reason for wanting to add falsh videos to your WordPress blog or website-maybe you just want to share videos with your friends or want to show some business websites to your potential customers, or just improve the lead generation of your company-it’s very easy with WordPress and a couple of other tools.
Tool One: Of course a WordPress account, go to www.wordpress.com and spend 5 minutes to register.
Tool Two: A flash video downloader. If you don’t have any existing flash videos at hand, no worries, you may use this flash video downloader to download flash videos from internet. Here I recommend Leawo Youtube Download
Tool Three: Moyea Web Player. Moyea Web Player is a WYSIWYG(what you see is what you get) program for customizing flash video player for website. It is very easy to use, with it, every single aspect of flash video player can be configured and previewed right away on graphical interfaces with a few mouse-clicks, no any coding needed. And the customized flash video player supports playing flash videos, streaming videos, live videos and SMIL presentations. It is mainly developed for web-designers and video hobbyists to build video sharing sites or add flash videos onto their websites or blogs for playing.
The step-by-step tutorial below teaches exactly how to upload your favorite videos to WordPress blog, let’s have a look:
Step 1: First upload the flash videos that you want to play on your blog or website to a sever (e.g.: upload to blip.tv), and then get the link addresses.
Step 2: Open Moyea Web player from Tool Three and click “Add URL” to input those flash videos’ link addresses which from Step 1.

Step 3: Select a video to edit and all the following features will show in the playlist.
a. Adjust the video order
b. Capture pictures during video playing
c. Rename video
d. Type the address where the video will lead to after playing
e. Type the address where the video will lead to when clicking

Step 4: Click “Template” to preview the webplayer you have created so far. If you don’t like the default player skin, choose another one from the left panel.

Step 5: Click “Option” tab, then “User define area”, choose “none” to remove Embed and URL information on the screen.

Step 6: On “Publish” interface, choose a publish path, and then publish the customized player.

Step 7: Upload all the published files except the index.html file, to the same folder of a web server (you can easily search a free hosting on google). And then copy and past the embed code on the following interface into your blog.

Note: mwplayer.swf is the actual flash video player, and the swfobject.js is an adobe flash object file, you point to them with links.
Then the player with the videos will show on your WordPress blog. Enjoy!
-

How to Download Movies on HBO Max on LaptopLumi/2025-04-22
-
How to Save Crunchyroll Episodes for Offline Viewing ForeverLumi/2025-03-31
-
How to Download Crunchyroll Anime with DRM to MP4Lumi/2025-03-06
-
5 Best 4K Blu-ray Player Software for PC in 2024Lumi/2024-11-06
-
How to Fix YouTube Loading Slow 2024 Latest SolutionsPatrick/2024-10-29
-

Where to Watch Mamma Mia & Here We Go Again OnlinePatrick/2024-10-29
-
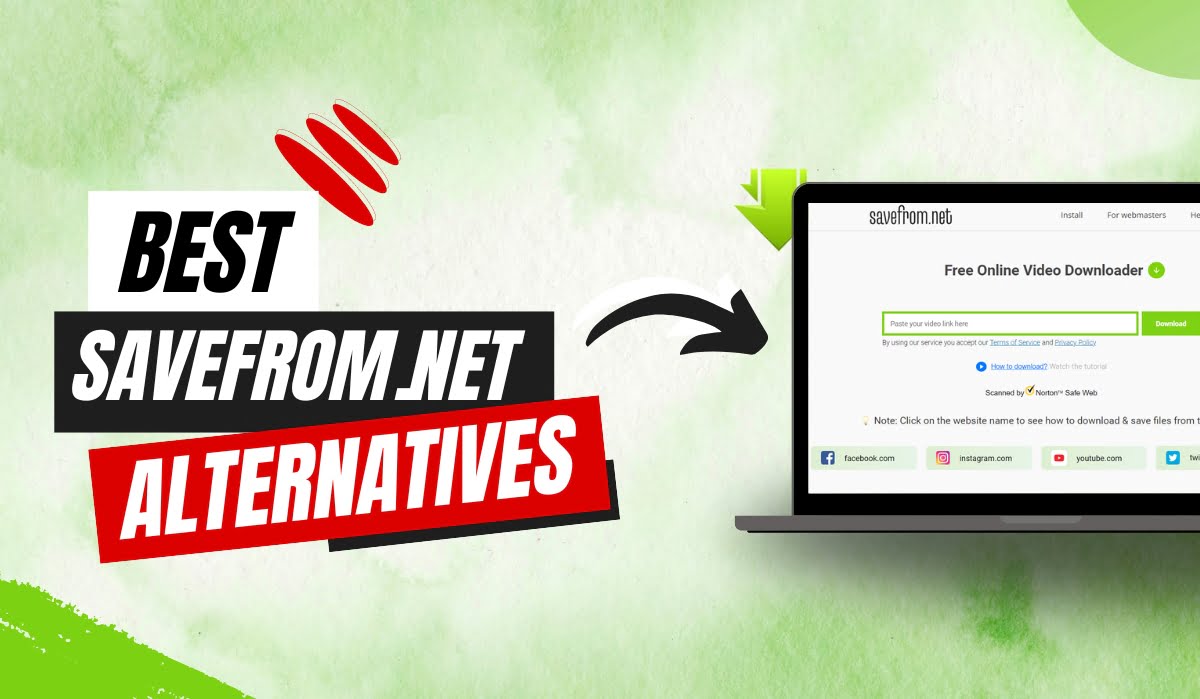
Top 8 Savefrom.net Alternatives for Downloading VideosLeia/2024-10-21
-
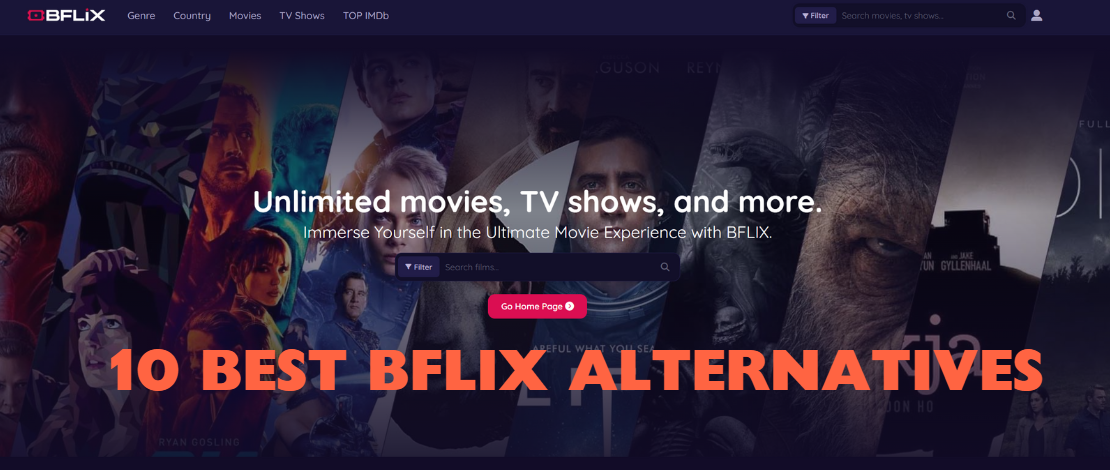
10 Best BFlix Alternative Sites to Watch Movies Online for FreeLumi/2024-09-26
-
3 Methods to Play Region 1 DVD in Other Regions Without LimitsCassie/2024-09-20
-

Sites to Watch Bengali Movies Online for FreePatrick/2024-09-19
-

Moyea Ext Playlist Plugin is Upgraded to V2.0 with AutoFill Function and New Setting OptionsToby/2010-03-08
-
Assisted Living Communities Servicesadmin/2021-11-09
-
Assisted Living Communities ServiceToby/2021-11-11
-
How to Make FLV Player with Flash Professional 8Toby/2018-12-06
-
Joomla! Succinct Introduction and the Tutorial of Inserting Flash Video PlayerToby/2010-04-16
-
8 Best YT to MP4 Converters to Convert YouTube to MP4August/2022-11-21
-
SD WAN Systems Upgradesadmin/2021-11-29
-
Moyea RTMP Stream and Video Search Plugin Upgraded with Enhancements and New Setting OptionsToby/2019-02-15
-
Best MP4 Player for Various Devices – Windows/Mac/Ubuntu/iPhone/AndroidValyn/2022-11-23
-
How to Use Multiple Playlists with One FLV (flash video) PlayerToby/2017-05-21