2023-12-11
30 Possible Ways for Unblocked Music at School/ Office/ College
2023-10-13
Best & New Movies on HBO Max [2023 Update]
2023-08-11
50 Best YouTube Movies Full Free with Ads You Should Watch
2023-07-12
How to Press Play on a Blu-ray Player without a Remote?
2023-05-16
How to Crop a Video on TikTok on Various Devices
2023-05-04
[User Guide] How to Connect Blu-ray Player?
2023-04-10
Best TS File Media Player & Converter
2023-04-07
MyFreeMP3 Alternatives – 10 Similar Tools to Download Audio Files
2023-03-21
Tips on How to Play DVD on Xbox One & Solutions When You Can’t Play
2023-03-09
Top 10 Best DVD Player Software for Windows/Mac
-
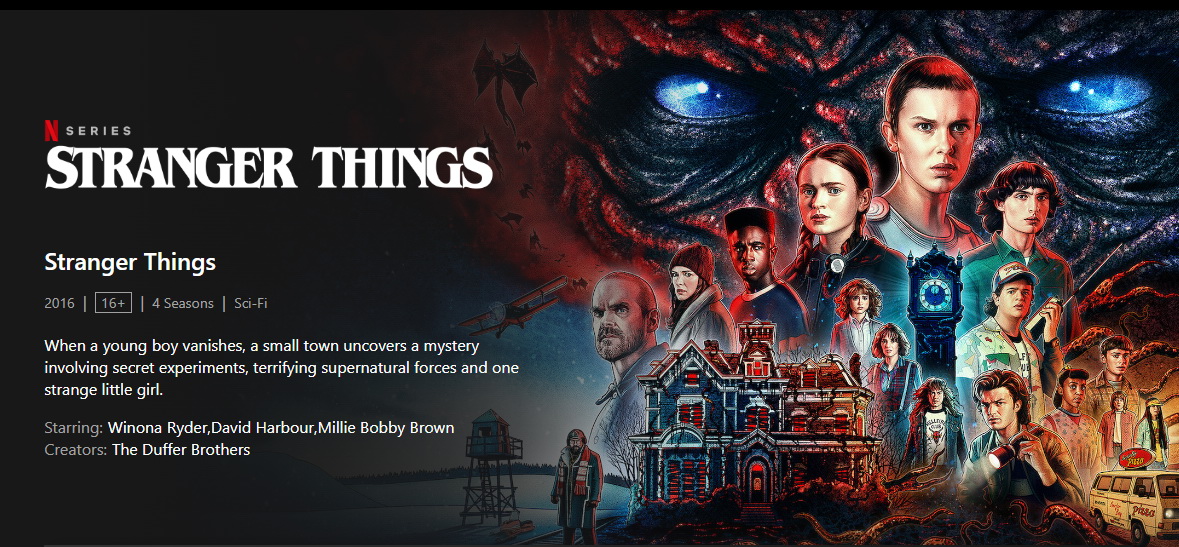
How to Watch & Download Stranger Things & Season 5 NewsPatrick/2024-04-28
-
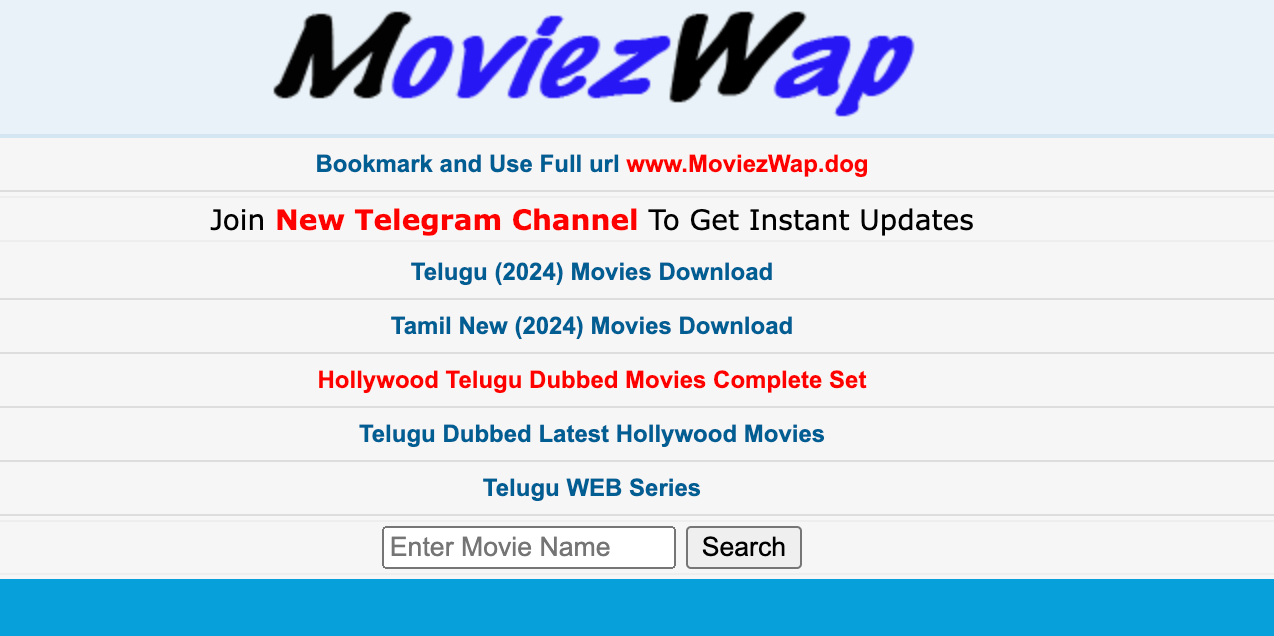
How to Download Moviezwap Telugu Movie & Alternatives to MoviezwapCassie/2024-04-25
-

8 Best Twitch VOD Downloader to Download Twitch VideosCassie/2024-04-25
-
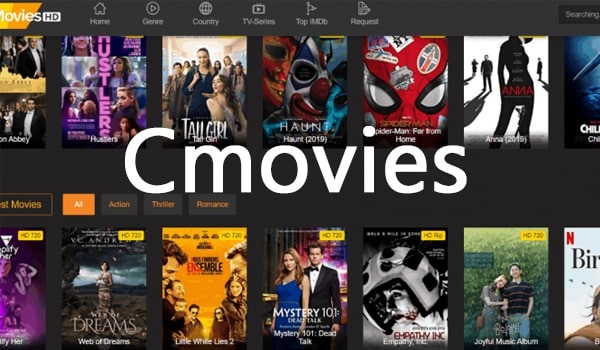
CMovies: Top Alternatives to Watch Free Movies OnlineCassie/2024-03-11
-
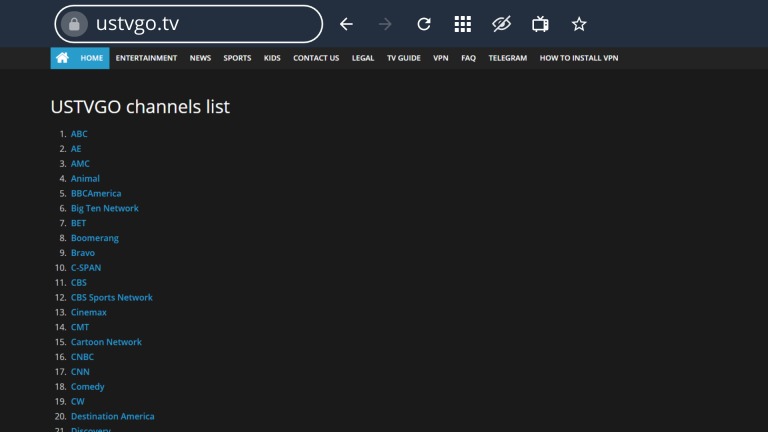
20+ Best USTVGO Alternatives to Stream Live TVCassie/2024-03-11
-

Is Dramacool Safe & What Are the Best Dramacool Alternatives?Vinho/2024-03-01
-
Xmovies8 Reviews: Is Xmovies8 Safe & Best Xmovies8 AlternativesVinho/2024-02-21
-
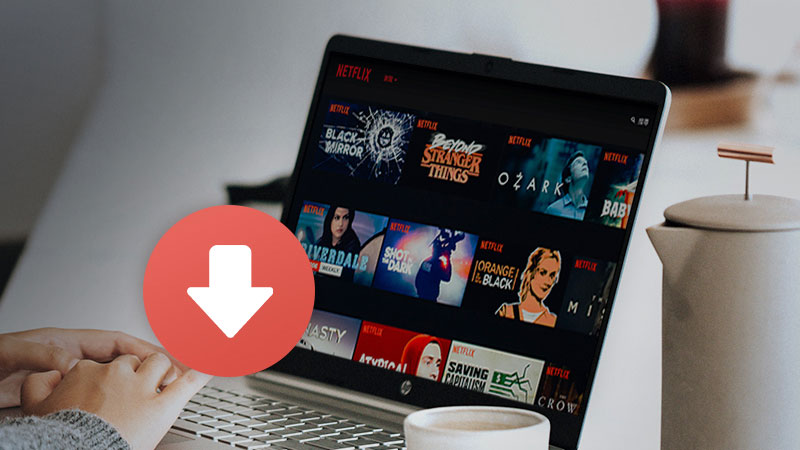
How to Download Netflix Movies on Laptop?August/2024-02-05
-

[2024] 10 Best Hot Web Series Download & Where to Download Web Series?Cassie/2024-01-26
-
Best LosMovies Alternatives for Movie Streaming Online in 2024Cassie/2024-01-26
-
Moyea Ext Playlist Plugin is Upgraded to V2.0 with AutoFill Function and New Setting OptionsToby/2010-03-08
-
Assisted Living Communities Servicesadmin/2021-11-09
-
Assisted Living Communities ServiceToby/2021-11-11
-
How to Make FLV Player with Flash Professional 8Toby/2018-12-06
-
Joomla! Succinct Introduction and the Tutorial of Inserting Flash Video PlayerToby/2010-04-16
-
8 Best YT to MP4 Converters to Convert YouTube to MP4August/2022-11-21
-
SD WAN Systems Upgradesadmin/2021-11-29
-
Moyea RTMP Stream and Video Search Plugin Upgraded with Enhancements and New Setting OptionsToby/2019-02-15
-
Best MP4 Player for Various Devices – Windows/Mac/Ubuntu/iPhone/AndroidValyn/2022-11-23
-
How to Use Multiple Playlists with One FLV (flash video) PlayerToby/2017-05-21